Salt Dough Trees
It wouldn’t be Christmas without crafts right? If you’ve never had a go at salt dough then the big question is why, as it is seriously one of the easiest kids crafts to do. It’s also such a quick, easy (and cheap) grandparent gift idea from the kids if you’re stuck for inspiration this Christmas.

THE SALT DOUGH
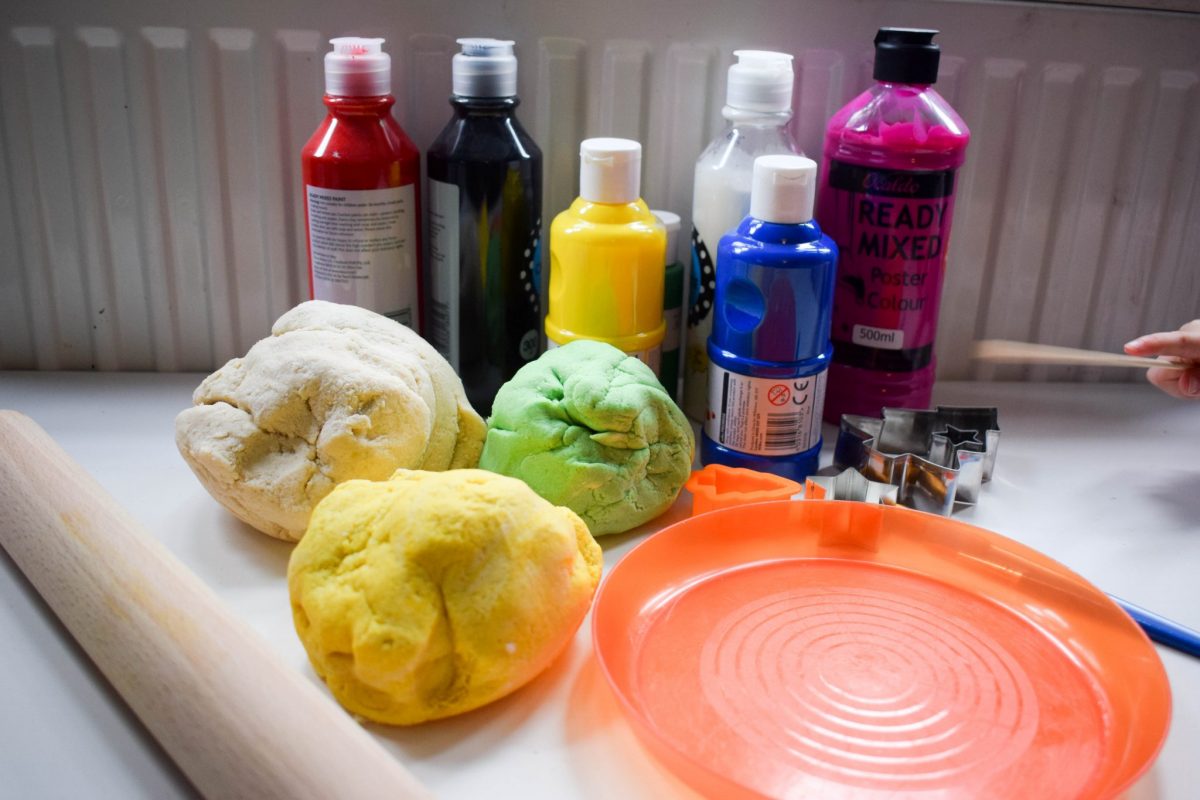
I promise that salt dough really is the easiest thing to make. Literally mix together 2 parts flour to 1 part salt. Slowly add in 1 part warm water and knead as you go until you have a good consistency. And that’s it!
I’ve not given measurements as it really does depend on how much you want to make. Therefore, simply choose an appropriate sized container and just use that. I used a childs plastic beaker which did around 8 trees and 12 stars with loads left over. A double shot glass – do you remember the days you used them for alcohol? – does enough for a good selection of trees. The great thing about this is the ‘ingredients’ are so cheap you don’t mind wasting a little.
I also add a little food colouring to the salt dough at the kneading stage by splitting the mixture in half and kneading in green dye into one half for the trees, and yellow dye into the other half for the stars. This is purely because I’m up against short attention spans with toddlers, so I just get the foundation colour already in there so the kids just have the decorating to do.

THE DECORATION
For this you simple need a little paint (we used poster paints for easy clean up) and some paint brushes. We used our fingers dipped in paint to add some baubles to the trees and then the little ones just went mad with the paint brushes.
THE FINISHING TOUCHES
Now you can’t forget this bit as before you dry them out you need to make a hole to put the string through. For this I just use a wooden skewer which works perfectly.
You then have two choices: you can either leave them to dry out on the side for a few days, or you can speed up the process by just popping them in the oven for a few hours. I can’t cope with them hanging around for that long. So, I put them on a baking tray just pop them in the oven on really low – around 70C – and put them in for around 2 or 3 hours. Don’t be tempted to turn the heat up, as flour + heat just means that they’ll rise.

Once fully dried out, you’re not quite done yet (but we’re almost there!). Salt dough is essentially food so if you want them to last, then you need to seal them. For this I just paint a layer of mod podge on which also gives it a nice shiny finish. Any PVA glue or similar will do though.
And there you have it! Just pop some string through and you have the perfect Christmas gift ready to hang.


Did you miss last week’s festive Friday post? Then take a look at my Christmas Gift Guide.
DISCLAIMER: this post may contain affiliate links. This does not impact you, but should you choose to purchase an item using a link from my site, I may earn a small commission.


Salt dough is the vain of my existence! I can never get it right no matter how I try, these look wonderful though! Might give it another try hah
Ahhh I love it! I’ve been thinking about giving salt dough decs a try this year and you’ve made it look totally doable! Will let you know how we get on!
It’s so easy and even Henry got stuck in and loved it!!
I’ve never heard of this, but I have a friend who would LOVE this! Great post!
Such a fun craft for the holidays! I remember making these with my mom when I was younger!
Their trees are so adorable! I love them!
Britt | http://alternativelyspeaking.ca
I have to try this with the girls. I have wanted to do this for so long!
These look fab, and really simple to make, Ive just added to our Christmas craft list 🙂