A Woolly Mahoosive Throw
Now anyone who knows me, knows that I am a knitter and arm knitting is something that I have wanted to try for a long time now. I think the end results are beautiful so I was desperate to get my arms on some extreme chunky wool. Therefore, when the opportunity came up to test out some Woolly Mahoosive yarn, I jumped at the chance.
There was no doubt that I would be making a throw for our bed, so read on to find out how to make your very own.

WHAT YOU NEED
Pretty much just some enormous yarn, your arms and hands!!
We were sent a 4kg ball of Woolly Mahoosive mammoth yarn to try out by the wonderful team over there. I chose the mid-grey colour as the best fit for our bedroom.

WHAT I DID
I tried two ways to knit my mahoosive throw. First of all I tried the traditional arm method but to be honest my arms were just not long enough and the mass of what I was knitting was just too big and hot. Therefore after a little more research I found the same result but using a flat method on the floor.
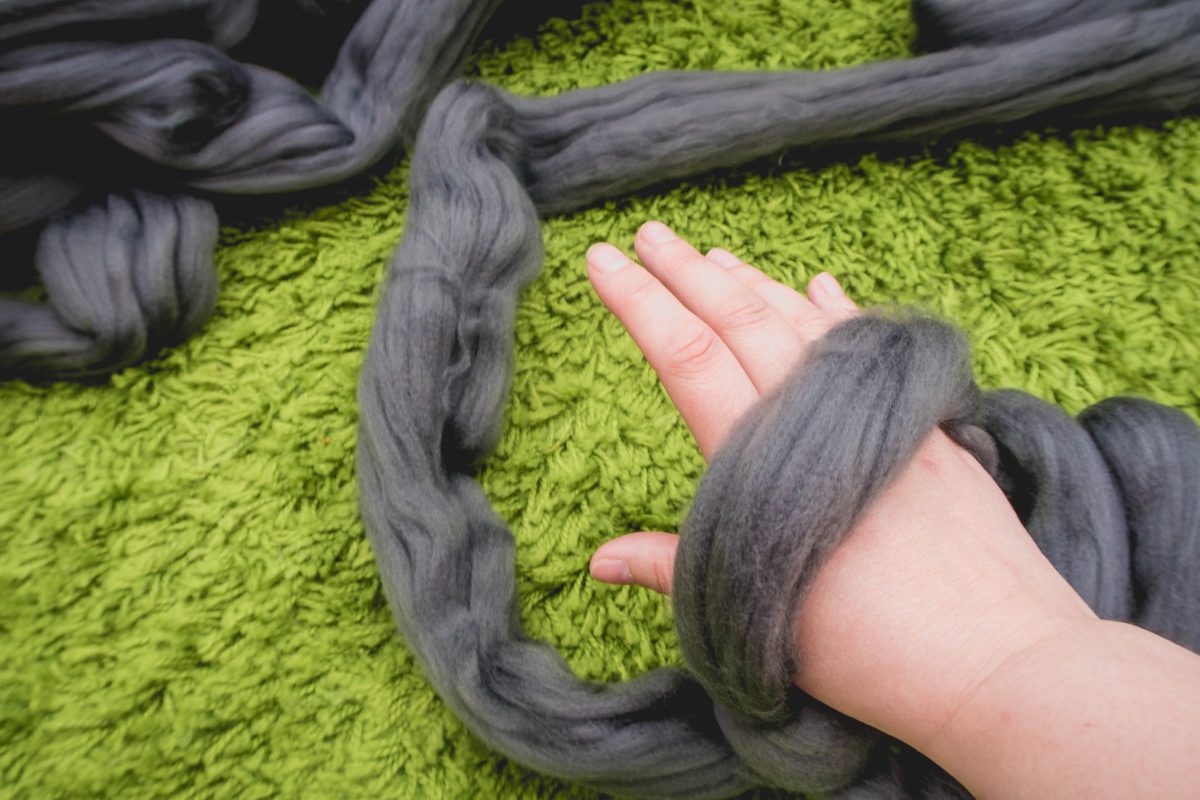
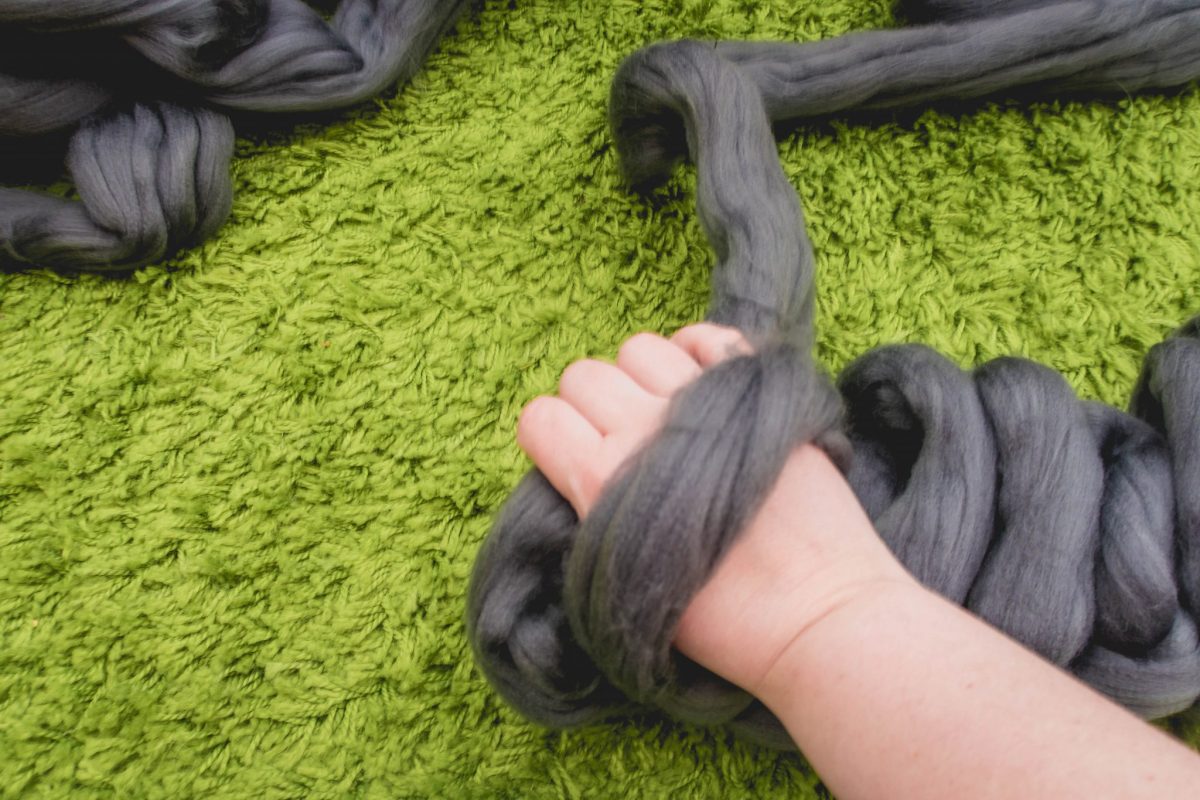
For me, this worked so much easier. All you needed to do was lay your work flat, reach through the stitch (1) and grab the yarn (2), pull through the loop (3) and then lay flat (4) before moving onto the next stitch.
Working this way made it much easier to lay the yarn out in advance ready to use, and also keep a consistent tension while you are knitting. Also, by working flat in this way, it ensures that your stitches do not become twisted which ensures you get a nice even, flat finish to your throw.
For a little look at how this works in practice, then take a little look at this 65 second video.
OUR WOOLLY MAHOOSIVE END RESULT
I loved this. Both the process which was so much fun, and also the yarn which was so incredibly soft. I would say you need to have a little practice first and find a method which works for you, be that knitting on your arms or on the floor like I did. As even as an experienced knitter, it took me a little getting used to.
The yarn itself is also very fagile – surprising given its size. Therefore, you just need to be gentle while unravelling it, as the 4kg ball when pulled by the yarn, will most likely tear. That’s not an issue at all, as a little care when you unroll it is all you need.

The best bit? Just how quickly it knits up. In just an hour I had a finished throw ready to use. Don’t get me wrong, it was a whole body work out to do – especially bent over on the floor – but it was also great fun.
The end result is beautiful, even if I do say so myself. Striking and unique, it certainly draws your eye. It does more than look pretty though as it’s also incredibly soft and snuggly, keeping your feet warm the whole night through.


I would definitely recommend this to anyone who fancies giving it a go! It was great fun to do, and at the end you are left with a finished item which can be used in your home or gifted to another.
Liked this post? Then check out the creations section of the blog for craft ideas for both grown ups and toddlers.

DISCLOSURE: I was provided with this item in return for my honest review. As always though, all opinions expressed in this post are my own.


Could you use large needles for this ? Say 25mm
Also as yarn is a little fragile how can you work out how many stitches for width as it probably doesn’t unravel very well if you get it wrong.
Thanks for help.
Yes absolutely – though be warned, the weight gets pretty heavy which is why I ended up going on the floor. But 25mm would work.
The wool is fragile but if you’re gentle then you wont cause damage to it. To get the width I did a quick swatch of 5 stiches over 3 rows and measured the width. From there I calculated how much many stitches I needed for the desired width. Good luck!
How has the blanket held up to use? With the yarn being unspun, does it not just get really tatty really quickly?